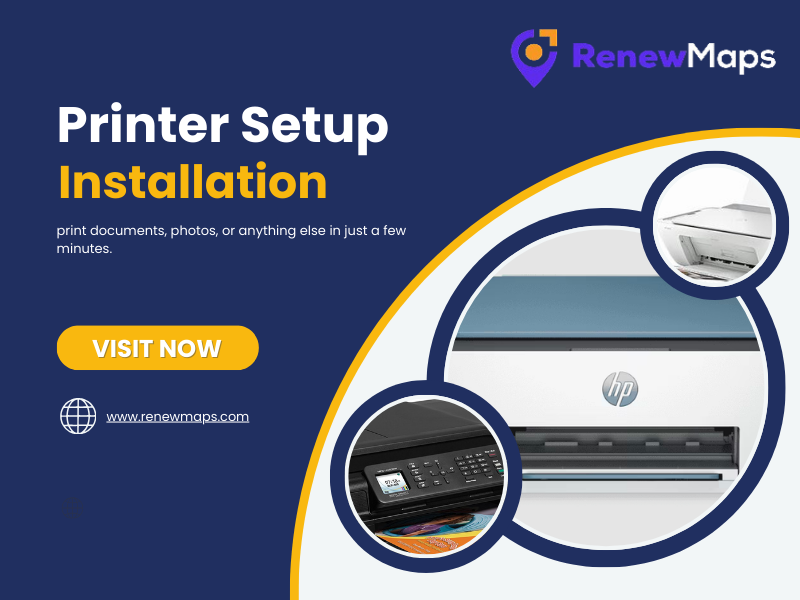
Printer setup often feels confusing, especially when dealing with cables, drivers, and wireless options all at once. But you don’t have to stress. This guide will show you how to complete your printer setup in a clear and simple way. Whether you need the printer for your home office, school projects, or business tasks, you can get everything ready quickly and start printing without hassles.
Unbox and Prep for Printer Setup
- First, unbox the printer. Take out and remove all protective materials. This usually includes plastic films, foam, and orange or blue tape inside and outside the printer.
- Once you’ve done everything, place the printer on a flat surface near your computer or Wi-Fi router.
- Plug in the power source and switch it on.
Some printers may take time in going through a brief self-test or in the warm-up process. Let it finish before moving to the next step.
Install Ink or Toner CartridgesPrinter offline
If you’re using an inkjet printer, it will come with starter ink cartridges. For laser printers, you’ll get a toner cartridge.
As part of the printer setup process, start by opening the cartridge compartment. Pick the correct slot and place each cartridge into its color-marked position. Close the compartment gently after inserting them. Once everything is in place, the printer usually detects the cartridges automatically and gets them ready for use.
Load Paper
Open the paper tray and load your desired size of paper; usually plain A4 paper can be the choice. Adjust the paper guides so the sheets fit snugly but aren’t crumpled. This ensures smooth printing and avoids paper jams later.
Choose Your Connection Method
Your printer can connect in a few different ways. Let’s explore each:
USB: Connect the USB cable to your computer; your computer should automatically detect the printer. Follow the instruction prompts displaying on your screen to complete installation.
Connect the printer through WiFi: Go to the wireless or Wi-Fi settings on the printer screen. Select your network and enter the Wi-Fi password. Once it’s connected to the Wi-Fi, download the printer software on your PC or phone.
Mobile Printing (Optional)
Download the printer app (like HP Smart, Epson iPrint, or Canon PRINT). Add your printer through the app. You can now print directly from your phone.
Install Drivers & Software
To make sure your printer communicates correctly with your computer, install the latest drivers. Visit the printer brand’s official website, search for your printer model, and download and install the recommended drivers or setup tool.
Skip the CD if your printer came with one; online versions are more up-to-date.
Print a Test Page
- Let’s start printing your first page
- Most printers have a “Print Test Page” option in their control panel. This checks that everything’s working—ink, alignment, and connectivity.
- If it prints perfectly, you’re good to go. Bonus Tips for a Smooth Printer Setup
- Keep firmware updated: Keep checking for regular updates from the manufacturer’s website occasionally.
- Place the printer close to your Wi-Fi router if you’re using wireless mode for a stronger signal.
- Label your Wi-Fi password and keep it handy—you’ll need it during setup.
- Use genuine ink/toner for better print quality and longer printer life.
Troubleshooting Common Issues
- Printer not showing up: Check if the cables are connected properly or if Wi-Fi is stable.
- Poor print quality: check and try cleaning the print head if needed.
- Printer offline: Make sure it’s turned on and connected to the same network as your device.
Final Thoughts
Printer setup doesn’t have to be a nightmare; with the right steps and a little patience, you’ll be ready to print documents, photos, or anything else in just a few minutes. No matter what brand or model you’re using, the basic process is almost always the same. If you ever get stuck, the user manual or customer support is just a click away.