Are you wondering how to handle printer setup and installation? Here’s a simple and clear guide to help you get started. With the right instructions, installing a printer becomes much easier than it seems. Whether you’re setting up a new inkjet printer at home or configuring a laser printer in your office, this guide will walk you through the process smoothly. The setup is straightforward, and by following these instructions, you’ll have your printer ready to use without any hassle.
Unboxing and Preparing Printer Setup
Start by unboxing your printer carefully and removing all protective tapes and packaging materials. Make sure the box includes all essential items, such as the power cord, ink or toner cartridges, the software CD (if provided), and the user manual. Place the printer on a stable, flat surface close to your computer and a power outlet so everything is easy to connect.
Next, connect the printer to a power source. Plug in the power cord, switch on the printer, and wait for it to load its startup menu. Some printers guide you with on-screen prompts, so follow the instructions that appear on the display screen as you continue the printer setup.
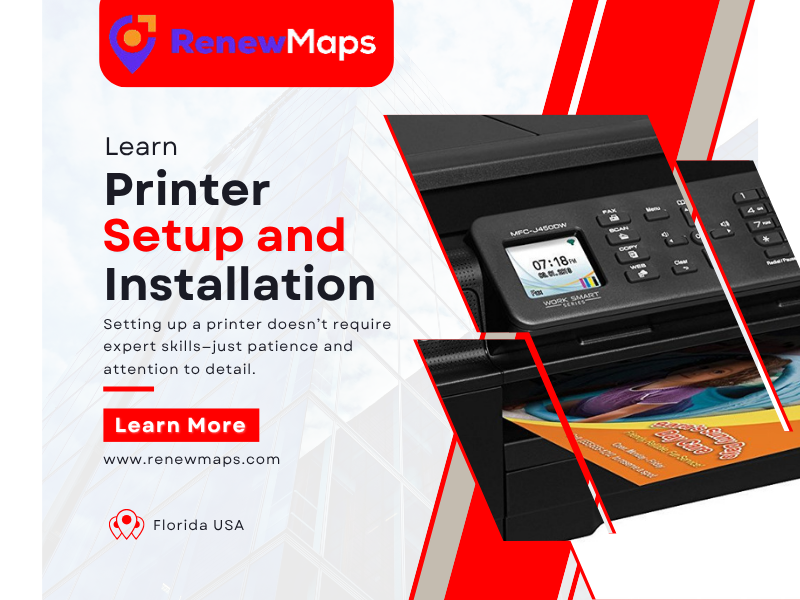
Printer Setup and Installation
Now it’s time to install the ink or toner cartridges. Open the cartridge access door and insert each cartridge according to the manual. Ensure they fit securely in place. After installation, the printer may take a moment to detect and prepare the cartridges.
Prepare the paper tray by adjusting it to your paper size, usually A4. Load plain sheets neatly and align them correctly to avoid jamming during printing.
For smooth communication between your computer and printer, install the required drivers. You can use the installation CD for older models or visit the official website of your printer’s manufacturer to download the latest drivers that match your operating system. Follow the installation prompts until the setup is complete.
You can now connect printer to laptop or network.
-
USB: A direct wired connection between the printer and your PC or laptop.
-
Wi-Fi: Using the printer’s control panel, select your wireless network and enter the Wi-Fi password.
-
Ethernet: For office environments, connect the printer to a router or switch and ensure your computer is on the same network.
After all connections are made, run a test print. Use the printer’s control panel or print a simple document from your system. This helps confirm that your printer setup and installation process were successful.
Conclusion
Setting up a printer doesn’t require technical expertise. With a little patience and the right guidance, your printer will be ready for home, school, or office use. Keep your drivers updated and perform routine maintenance to ensure your device continues to deliver reliable performance.
Our other services check also—
Latest GPS Maps update services
Garmin GPS Update, Rand McNally GPS update, TomTom GPS update, Magellan gps update